Dial-In iPhone Settings For Better Dating Photos
- Use the back camera in Portrait mode at 2x or 3x, with flash and Live Photo off.
- Lock focus on your face, nudge exposure slightly darker, and shoot on a 3–10 second timer.
- Stand 5–8 feet from the camera and 8+ feet from the background to get natural-looking blur.
- Edit lightly: crop 4:5, lower exposure a notch, add a touch of warmth and sharpness.
- Avoid heavy filters; aim for clean light and small adjustments that preserve real skin texture.
The quick answer: iPhone setup that just works
If you use only one checklist, use this. It hits sharpness, skin tone, and background blur without pro-level menu diving.
- Camera: Back camera, Portrait mode, Natural Light.
- Lens: Tap 2x or 3x (telephoto). Avoid 1x up close; it warps faces.
- Flash: Off.
- Live Photo: Off. (Cleaner files and easier edits.)
- Grid: On (Settings > Camera > Grid). Helps straighten horizons and center eyes.
- Timer: 3s for handheld at arm’s length, 10s on tripod/shelf.
- Exposure: Tap your face to focus, then slide the little sun down slightly (about -1/3 stop) to avoid washed-out skin.
- Distance: Camera 5–8 ft from you; background another 8–15 ft behind you. That spacing makes blur look natural.
- Photographic Style: Standard. You can warm it later in edit for better skin.
Shoot 12–20 frames per look, then keep the best two. Edit lightly (crop 4:5, lower exposure a hair, add warmth + sharpness). That’s the entire play.
Prep the phone and the scene
Good inputs make every edit easier. Spend two minutes before you press the shutter.
- Clean the lens: Quick wipe with a microfiber cloth. One smudge can halve sharpness.
- Turn on the grid: Settings > Camera > Grid (on). Keep eyes on the top third line, not dead center.
- Pick the lens: Use 2x or 3x so features stay proportional and the background compresses.
- Stabilize the phone: Tripod is ideal. No tripod? Lean the phone against a mug, stack of books, or a shelf corner. Angle it so the lens is at your eye height.
- Frame the background: Simple wall, doorway depth, or a clean corner. Avoid busy shelves and tangles of cables.
- Space for blur: Put yourself well in front of the background (8+ ft). Portrait mode looks more convincing with distance.
- Light (fast rule): Face a large window or stand in open shade. Avoid overhead downlights. If you want deeper lighting tips, see this lighting guide.
Exact in‑camera settings while shooting
These are the taps, in order, for crisp, flattering portraits.
- Open Camera > Portrait > Natural Light. If you see Stage or Contour, swipe to Natural Light first.
- Select 2x or 3x. Step back to fit your shoulders and a bit of headroom.
- Turn off flash and Live Photo. Tap each icon until they’re crossed out.
- Lock focus on your face: Press and hold on your eye until AE/AF LOCK appears. This keeps the phone from hunting.
- Lower exposure slightly: After focusing, drag the sun icon down a touch (about -0.3 to -0.7). Skin looks richer; whites don’t blow out.
- Set depth (f‑number): Tap the f icon (if shown) and start at f/2.8–f/4. Too low (f/1.4) can melt your ears; too high (f/8) kills the blur.
- Use a timer: 3s if the phone is steady in your hand; 10s on a tripod or shelf. It avoids the shake from pressing the shutter.
- Shoot a small burst: Hold the shutter (or volume up) for a short burst when your expression feels alive. You’ll catch relaxed eyes mid-blink cycle.
- Change angles: Do three angles per look: straight-on, 15° turn left, 15° turn right. Keep the lens at eye height. Chin slightly down, crown tall.
Review each mini-set. If edges look mushy, clean the lens again and step back one foot at the same 2x/3x.
Simple edits that matter (2 minutes total)
Skip heavy filters. Use small moves that keep skin real and the photo clean. In the Photos app, tap Edit and try these numbers as a starting point:
- Crop and straighten: Crop to 4:5 for app-friendly framing. Keep eyes on the top third line. Straighten any leaning doorframes.
- Exposure: -0.10 to -0.25. If the face goes dull, back off.
- Brilliance: +10. Adds pop without cartoon contrast.
- Highlights: -10. Tames hotspots on forehead and nose.
- Shadows: +5. Lifts dark beard area without flattening.
- Warmth: +5 to +12. Nudges skin from cold blue to human. Stop before whites of eyes turn cream.
- Saturation: +3. Just enough for shirt and eyes.
- Definition: +10 and Sharpness: +10 to +15. Adds crispness; zoom to 100% and keep pores visible.
- Portrait depth: Tap the f and fine‑tune. Most faces sit best at f/2.8–f/4.
- Portrait Lighting: Usually Natural. Studio can help in flat shade; avoid Stage cutouts unless it looks spotless.
When in doubt, use half the amount you think you need. The goal is you, awake and present, not a filter.
Skin tone and shine: keep it real
Good skin in photos is mostly light, distance, and small edits. You don’t need smoothing apps.
- Before you shoot: Blot forehead and nose with a tissue or matte blotting paper. A tiny dab of clear lip balm is fine; avoid glossy skin products.
- Positioning: Step slightly off-center from the brightest window so light skims across your face instead of hitting dead-on.
- Avoid mixed light: Turn off orange overheads if you’re by a cool window. Pick one light color.
- In edit: Use Highlights -10, Exposure -0.10, and Warmth +6 as a clean baseline. Skip skin-smoothing sliders; texture is part of being a grown man.
If shine is a recurring problem, we wrote a tight fix: how to reduce a shiny face in photos.
Solo shooting without a photographer
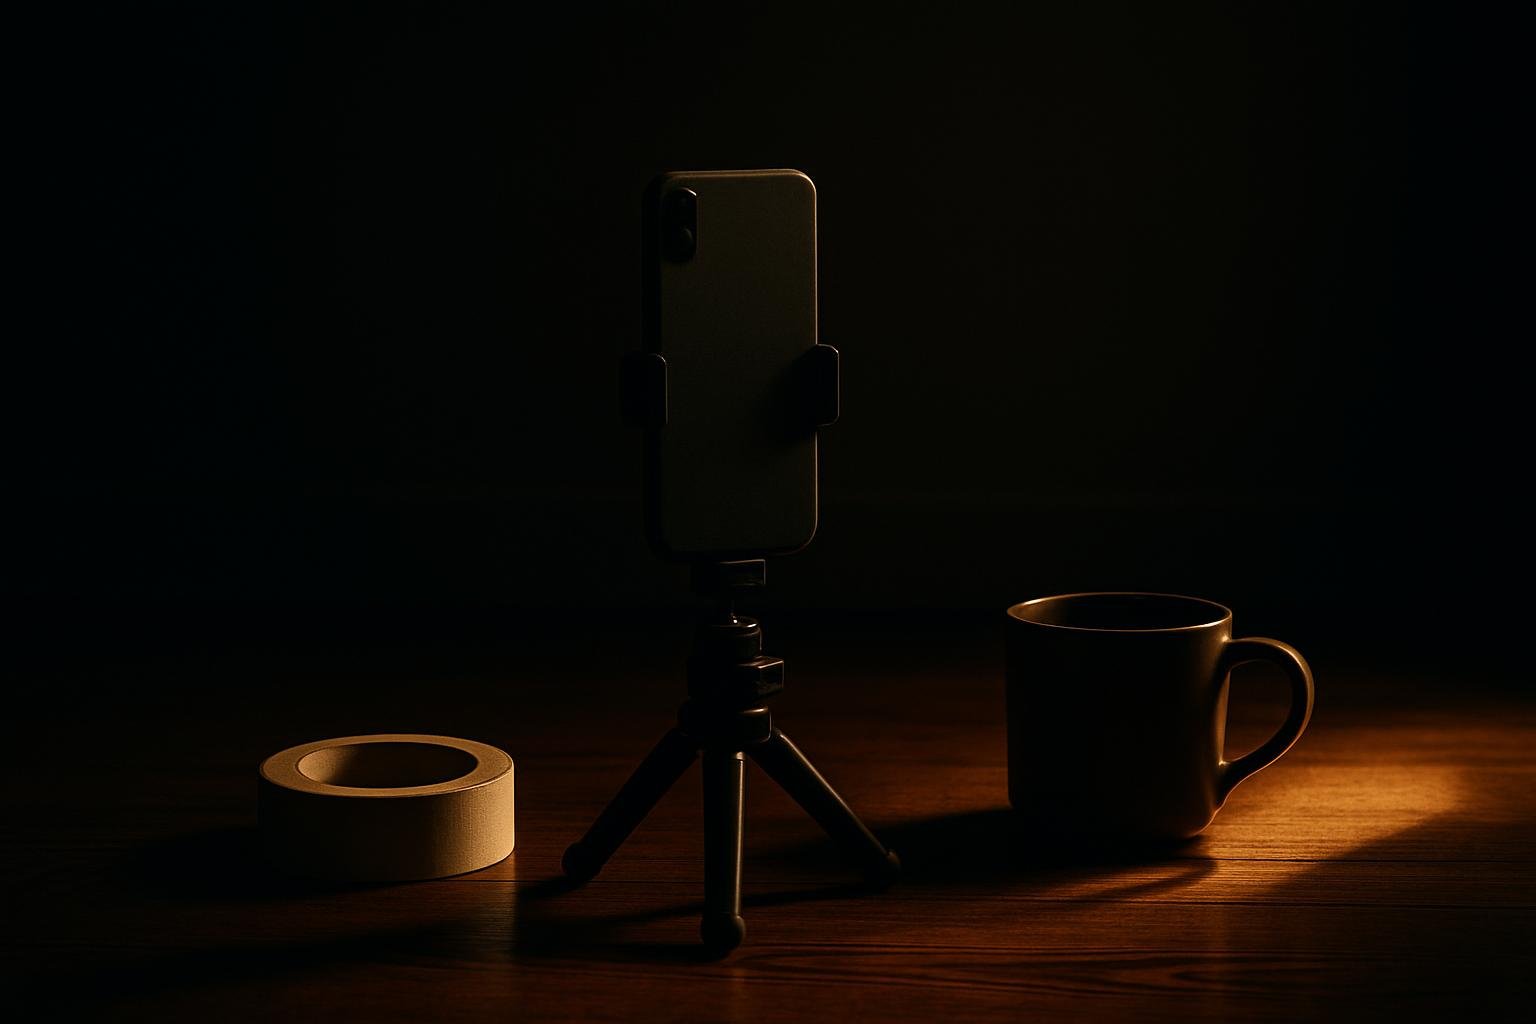
You can get strong photos alone. Make the phone stable and give yourself time to relax into the frame.
- Stabilize: Tripod if you have it. Otherwise, lean the phone against a mug on a shelf at eye height. Wedge with a folded paper to adjust tilt.
- Timer: Set 10s. Tap to lock focus on where your face will be, then step into that mark. Put a chair or tape on the floor to hit the same spot.
- Mark the frame: Place a small object (like a plant) where your head will be while you focus/compose. Remove it before the shot. This keeps focus locked at the right distance.
- Hands and posture: One hand in pocket, or lightly hold a coffee mug or book. Relax shoulders down, stand tall through the crown.
- Batch it: Do two outfits and two locations in 30 minutes. Change only one variable at a time so you can tell what’s working.
- At home tips: If you’re shooting inside, this playbook helps: take dating photos at home.
Common mistakes and fast fixes
- Problem: Wide-angle warping. Faces look round or stretched. Fix: Use 2x/3x and step back. Keep the lens at eye height.
- Problem: Fake-looking blur halos. Fix: Increase subject–background distance and set depth to f/3.5–f/4. Avoid hair blending into a same-color wall.
- Problem: Flat, gray skin. Fix: Lower exposure a hair, add Brilliance +10 and Warmth +8. Face the brightest side of the room.
- Problem: Harsh forehead shine. Fix: Turn 15° off the window, blot once, then Highlights -10 in edit.
- Problem: Soft, blurry eyes. Fix: Clean lens, lock focus on the eye, use the 3s/10s timer, and add Sharpness +12 in edit.
- Problem: Busy background. Fix: Simplify to one wall or doorway depth. Move clutter out of frame, not just out of sight.
Want a blunt assessment of which shot is actually your best? Suvant gives you an honest image audit from three photos and turns the results into ranked next moves you can knock out. Try it at app.getsuvant.com. The audit is free; the full plan is $89/yr with a money-back guarantee.
Re-entering apps after 40? Build a grown-man set with the right mix of portraits and full-body shots here: dating profile photos over 40.
Get the honest audit you've never gotten.
Three photos, eight scores, the real reasons behind each number, then a ranked plan to fix them one move at a time.
Get my free audit →