Slim Your Midsection on Camera Without Photoshop
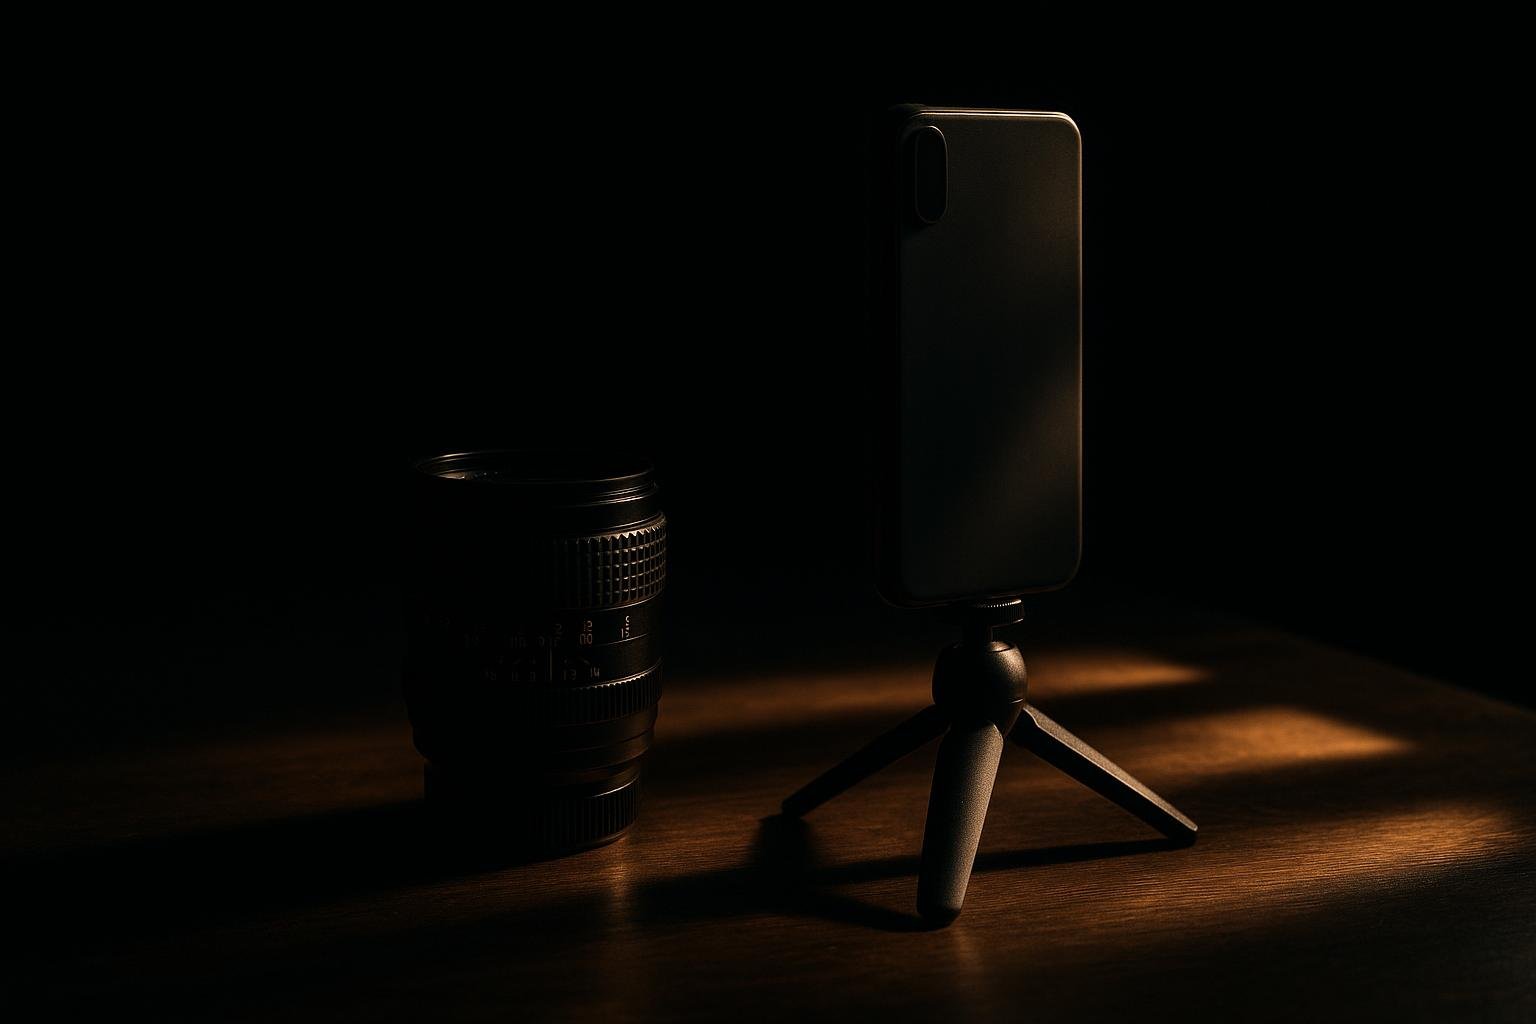
- Turn your body 30–45° from camera, shift weight to back leg, and hinge at the hips 5–10° to flatten the front plane.
- Keep the camera lens at mid-chest to eye level and slightly above your waistline; shoot slightly down, never up.
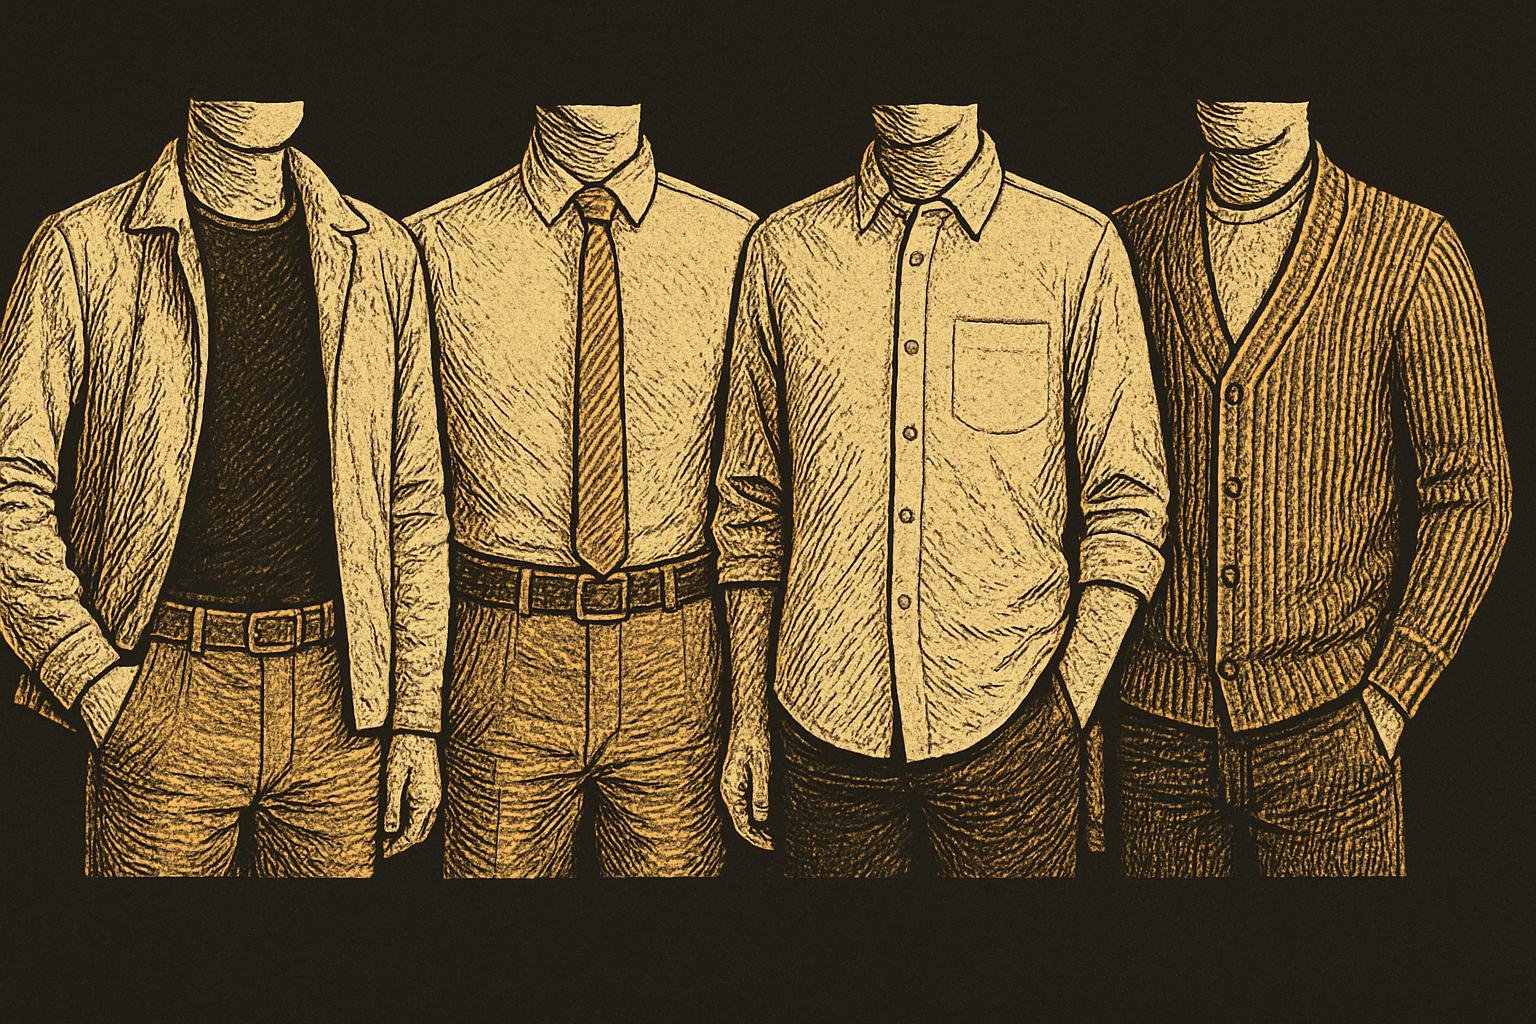
- Use a jacket or overshirt left open to create vertical lines and a darker shirt under it to recess the midsection.
- Hands, pockets, and props shape your outline; partial pockets and holding a glass or jacket front reduces belly focus.
- Build a repeatable routine: stance, angle, chin, breath, and hand placement the same way every time.
The 10‑Second Answer
You can look trimmer in photos by changing three things: angle, pose, and lines. Do this every time:
- Angle: Keep the camera at your mid‑chest to eye level and tilt it slightly down. Avoid low angles; they push your midsection forward.
- Pose: Turn your body 30–45° from camera. Put weight on the back leg. Hinge forward at the hips 5–10°. Bring your front shoulder toward the lens. Chin forward and down 1 inch.
- Lines: Wear a light jacket or open overshirt with a darker tee or polo underneath. Keep belt and shirt transitions clean. Hands lightly in pockets or holding a prop to shape your outline.
That’s the core. Now here’s the step‑by‑step so it becomes automatic.
A Pose That Flattens the Front
Think of making your front surface smaller and your edges sharper. Run this script whenever a camera appears:
- Set your feet: Place your feet shoulder‑width. Point the front foot toward the camera, the back foot 30° out. Put 60–70% of your weight on the back leg.
- Turn the torso: Rotate your hips and chest 30–45° from the lens. This reduces the visible width of your midsection.
- Hinge forward: From your hips, lean toward the camera 5–10°. Don’t bend your neck. This brings your face closer than your torso, de‑emphasizing the belly.
- Ribs up, belly long: Breathe in through your nose, then low‑exhale as if fogging a mirror, letting the ribs lift and the belly lengthen. Avoid a hard suck‑in; it looks tense. Think “tall zip” from pelvis to sternum.
- Shoulders and chin: Drop shoulders back and down. Push your chin one inch forward and slightly down to define your jawline without turtling.
- Front shoulder to lens: Nudge that front shoulder a half‑step closer. It narrows your silhouette and adds presence.
Seated version: Sit at the front edge of the chair, knees lower than hips if possible. Angle your body 30–45°, plant one foot slightly back under the chair, and hinge from the hips so your chest is over your belt line. Keep the camera at or above eye level.
Want more poses beyond the basics? See our full guide: how to pose for photos.
Control the Camera, Not Just Your Body
A good pose can be undone by a bad angle. Take control politely. Here’s exactly what to say and do:
Where to place the lens
- Height: Keep the lens between mid‑chest and eye level. This compresses the torso and emphasizes your face. If someone kneels or drops low, ask them to stand.
- Distance: For a single‑person shot, stand about 6–10 feet from the camera with a normal phone lens (1x). Too close distorts and makes the nearest area (often the belly) look larger.
- Tilt: A slight downward tilt (5–10°) is your friend. No upward tilt.
What to ask the photographer
- Script: “Mind shooting from chest height and a little off to that side? I look better at a slight angle.” People appreciate direction.
- Position them 10–20° off your front: Have them stand a little to your front‑shoulder side so your turned body reads naturally.
- Use portrait mode outdoors: Background blur pulls attention to your face and away from the midsection.
Selfies and timers
- Phone placement: Prop your phone at shoulder height or a touch higher on a shelf or water bottle, angled slightly down.
- Timer: Use a 3–10 second timer so you can set your stance and breath.
- Lens choice: Avoid the ultra‑wide (0.5x); it stretches the nearest parts. Use 1x. If you have 2x and enough space, even better.
Clothes That Cut Visual Weight
You don’t need a new wardrobe; you need clean lines and contrast in the right places.
Layering that slims
- Open layer: Wear a lightweight jacket, overshirt, or cardigan open. This creates two vertical lines that frame the torso and visually narrow it.
- Darker underlayer: Put a darker tee, polo, or henley under the open layer so the belly area recedes.
- Mid‑rise trousers: A mid‑rise that sits at your natural waist prevents an overhang line. No low‑rise.
Fit and hem rules
- Shirt length: If untucked, aim for a curved hem that ends mid‑fly. Too short exposes the belly when you move; too long shortens your legs.
- Ease, not tightness: You want 2–3 inches of ease at the belly. Fabric that skims, not clings.
- Structure up top: Unpadded blazers or chore coats add shoulder structure and draw eyes up.
Patterns and colors
- Vertical elements: Casual vertical textures (wale cord, ribbed knits, subtle stripes) help. Avoid big horizontal stripes at mid‑torso.
- Low contrast belt: Match your belt to pants. High‑contrast belts put a spotlight on the waistline seam.
- Darkest piece in the middle: Keep the darkest garment as the inner shirt or the pants—not the overshirt.
Need a deeper closet plan? Read our clothing breakdown: clothes to hide a belly.
Hands, Pockets, and Props
Hands change your outline more than you think. They can hide fabric tension and add shape.
- Partial pockets: Slide just the thumb or the first two fingers into your front pockets. This pulls fabric forward slightly and breaks up the belly line. Keep shoulders back.
- Jacket management: If your shirt pulls across the stomach, pinch the jacket front lightly with your fingers at belly button height. It adds a vertical fold that slims.
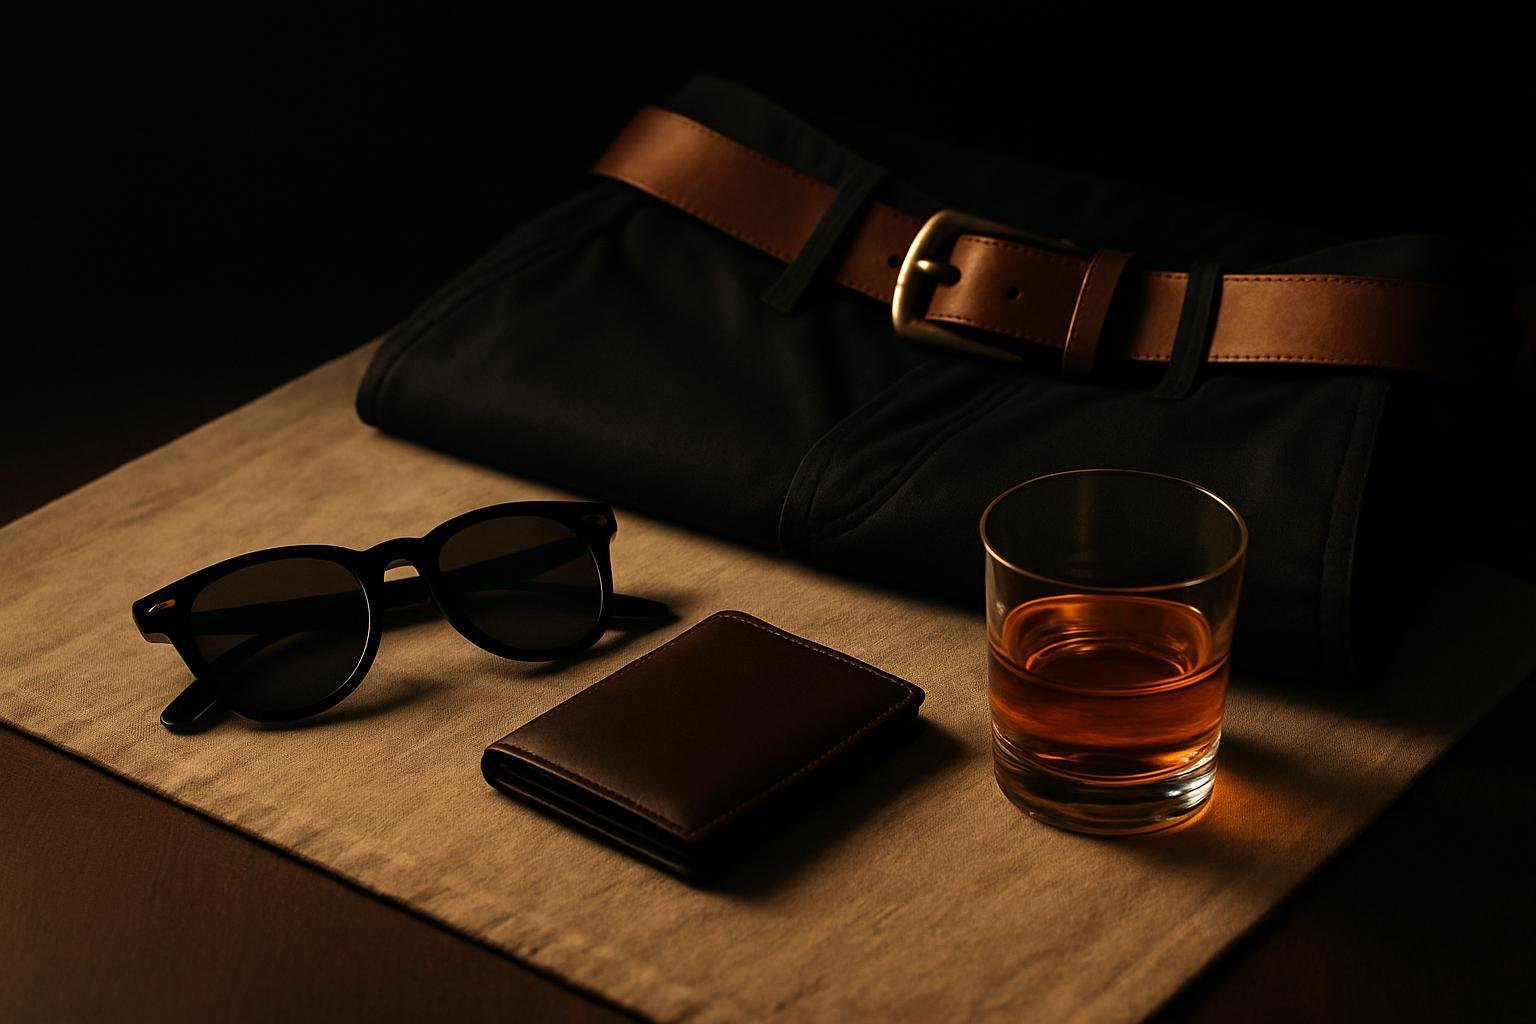
- Hold an object: A lowball glass, sunglasses, or car keys in the near hand gives purpose and a visual counterweight. Keep it waist to chest height, not over the belly.
- Crossed‑arm option: Only if the jacket is open and fabric is smooth. Cross lightly with forearms below the chest line, not pressed into the midsection. Angle 45°.
- Phones: If it’s in the shot, keep it out of tight front pockets. Back pocket or jacket pocket is cleaner.
Not sure what to do with your hands in every setting? We covered it here: what to do with hands in photos.
Face, Posture, and Presence
Your expression and posture decide whether the eye lands on your face or wanders to your midsection.
- Micro‑expression: Think “pleasant exhale.” Breathe out slowly through the nose, cheeks relaxed, eyes slightly narrowed. It reads confident without strain.
- Eye line: Look just above the lens or directly into it. Looking down emphasizes the torso; looking up slightly can help on seated shots.
- Neck length: Imagine a string from the top of your head. Grow tall, then drop shoulders. Chin forward one inch, down a touch.
- Breath timing: Inhale through the nose, then hold a half‑exhale on the shutter. It firms the core without a visible suck‑in.
- Grooming edges: Clean neckline on beard, tidy collar, and lint‑free layers keep the viewer on your face. Wrinkles and lint drag attention down.
If you want a quick outside read on what’s helping or hurting across your photos, the Suvant audit shows you exactly where your face, hair, skin, body, style, grooming, photos, and presence are scoring and why—then turns that into ranked next moves you can act on. It’s free to try at app.getsuvant.com, and the full plan includes detailed deliverables like a barber brief you can hand over at the chair.
Situational Plays: Party, Work, Travel
Different settings call for small adjustments. Here are the quick plays.
Group photos at parties
- Edge position: Take a near‑edge spot, turned 30–45°. Edges naturally crop width and let you hinge slightly forward without blocking anyone.
- Staggered feet: If you’re center, slide one foot forward and turn your torso. Ask the photographer to shoot from a few inches higher than eye level.
- Hold a prop: Beer or water held at sternum height, elbow slightly away from the torso to create negative space.
Work events
- Blazer button rule: For standing shots in a blazer, button the top just before the photo, then unbutton after. It cleans the front plane.
- Name badge: Clip higher on the lapel or breast pocket to keep eyes up.
- Conference hallway: Stand 6–8 feet from a background. Ask for portrait mode to blur the clutter.
Vacation and casual
- Breathable layers: Linen overshirt open over a dark tee. Roll sleeves to mid‑forearm to draw eyes up.
- Pools and boats: If shirtless is off the table, wear a dark swim tee or a camp shirt open over swim trunks, camera slightly above eye line from a seated perch.
- Backpack waist straps: Tuck or remove for the photo; they cut the body at the widest point.
Make It Repeatable: A 20‑Second Routine
When the phone comes out, you don’t have time to think. Run this routine like muscle memory:
- Feet: Stagger, weight back. 30–45° turn.
- Hinge: Lean 5–10° from the hips. Ribs up, long belly.
- Chin: Forward one inch, down a touch. Shoulders relaxed.
- Hands: Thumb in pocket or hold a prop. Manage the jacket front if needed.
- Camera: Ask for chest‑to‑eye height, slight down tilt, 1x or 2x lens.
- Breath and eyes: Half‑exhale on the shutter, eyes at or just above lens.
Do this five times at home with your timer so it’s automatic in public. Record one short video while turning from square to 45° and pausing at each beat; screenshot your best frames to see what reads leanest.
If you want a neutral scorecard and ranked next steps, Suvant’s two‑minute photo audit turns your uploads into a concrete plan with monthly re‑audits, XP, and streaks to keep you honest. There’s a money‑back guarantee on the full plan if it’s not useful.
Get the honest audit you've never gotten.
Three photos, eight scores, the real reasons behind each number, then a ranked plan to fix them one move at a time.
Get my free audit →