A Grown Man’s Guide to Full‑Body Dating Shots
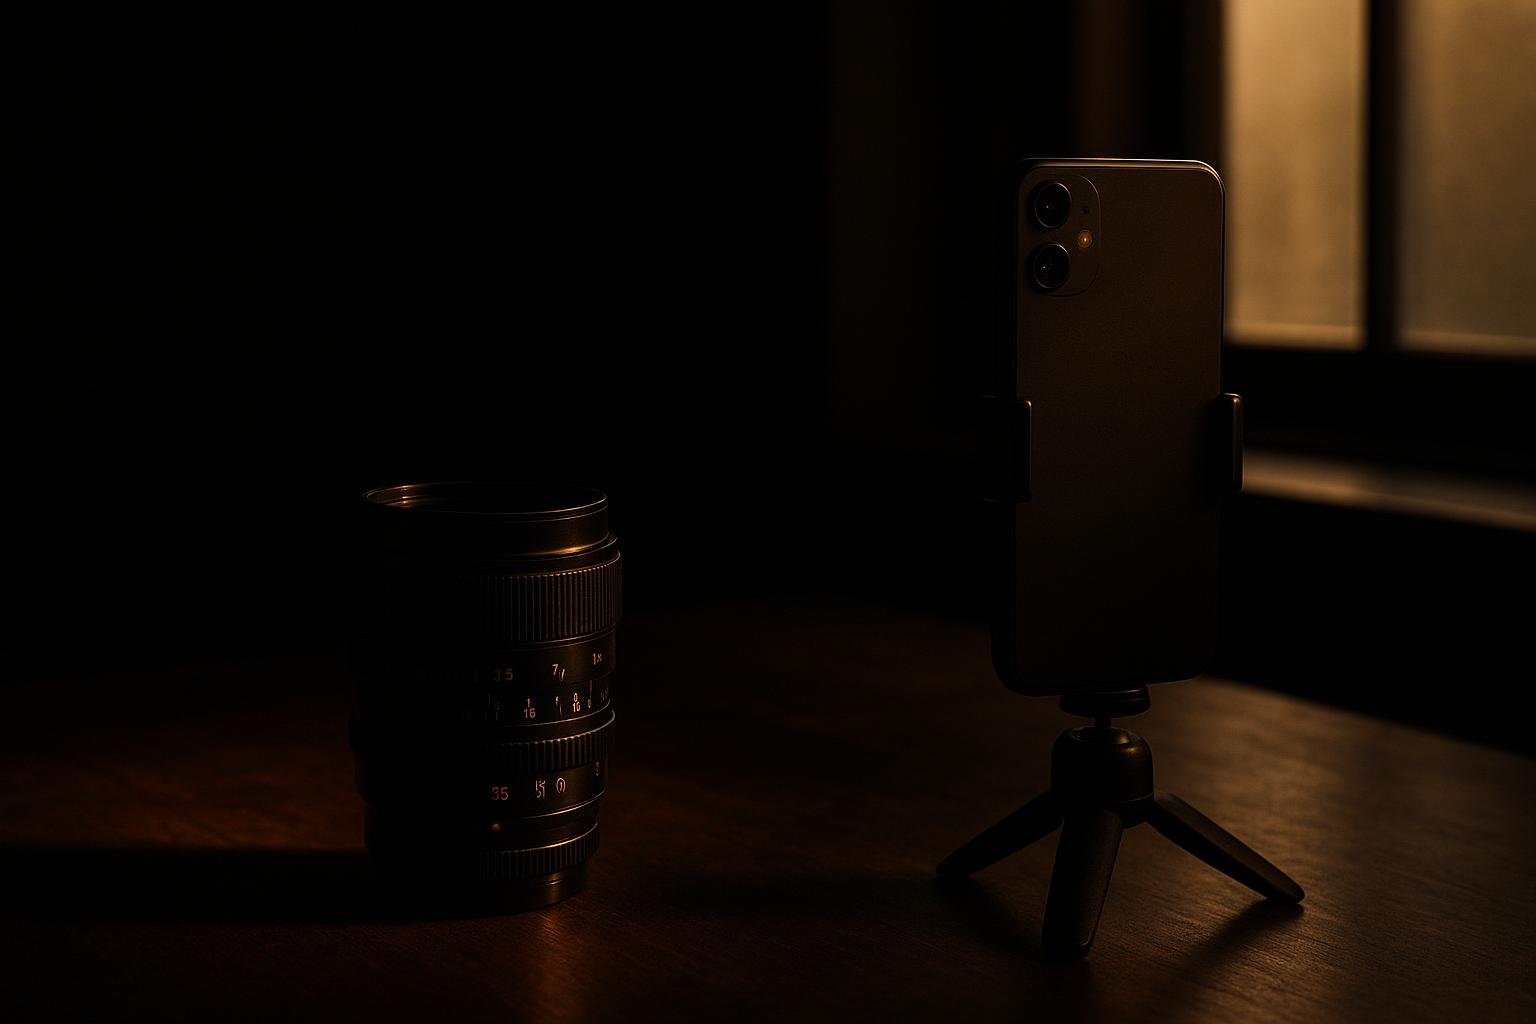
- Use a tele lens (phone 2x/3x) and step back 18–30 ft to avoid wide‑angle distortion.
- Mount the camera ~navel height, shoot vertical, leave toes and a bit of headroom in frame.
- Angle your body 15–30°, weight on back foot, one hand placed with purpose—no dead arms.
- Wear fitted, simple layers with clean footwear; avoid oversized tops and busy patterns.
- Shoot in soft light (shade or window), take 40–80 frames, and pick the three most relaxed.
The quick recipe: one strong full‑body shot
If you remember nothing else, use this recipe for a clean full‑length photo that shows your proportions and reads effortless, not try‑hard.
- Lens: On a phone, use 2x or 3x (telephoto). Never 0.5x. Avoid 1x unless you can stand very far back. On a camera, 50–85mm.
- Distance: Stand 18–30 ft from the camera. Closer than 12 ft with a wide lens makes your head look big and legs short.
- Height & orientation: Mount the camera around navel height (roughly halfway between head and toes). Shoot vertical.
- Framing: Head to toes visible, 5–10% headroom above hair, a bit of space by the shoes. Keep your body fully inside the frame.
- Light: Shade outdoors or soft window light indoors. No direct noon sun overhead, no harsh down‑lights.
- Pose: Turn your torso 15–30° from camera, weight on your back foot, one hand occupied (pocket/thumb/prop), chin slightly forward and down 1 cm.
- Wardrobe: Fitted (not tight) top, straight or slim‑straight pants, clean shoes. Solid or subtle pattern. No big logos.
- Expression: Neutral‑to‑warm. Think "you just heard a good story." Breathe out, then micro‑smile with eyes.
Do this once well and you’ve got the anchor image for your profile.
Gear, lens, and setup that make you look proportional
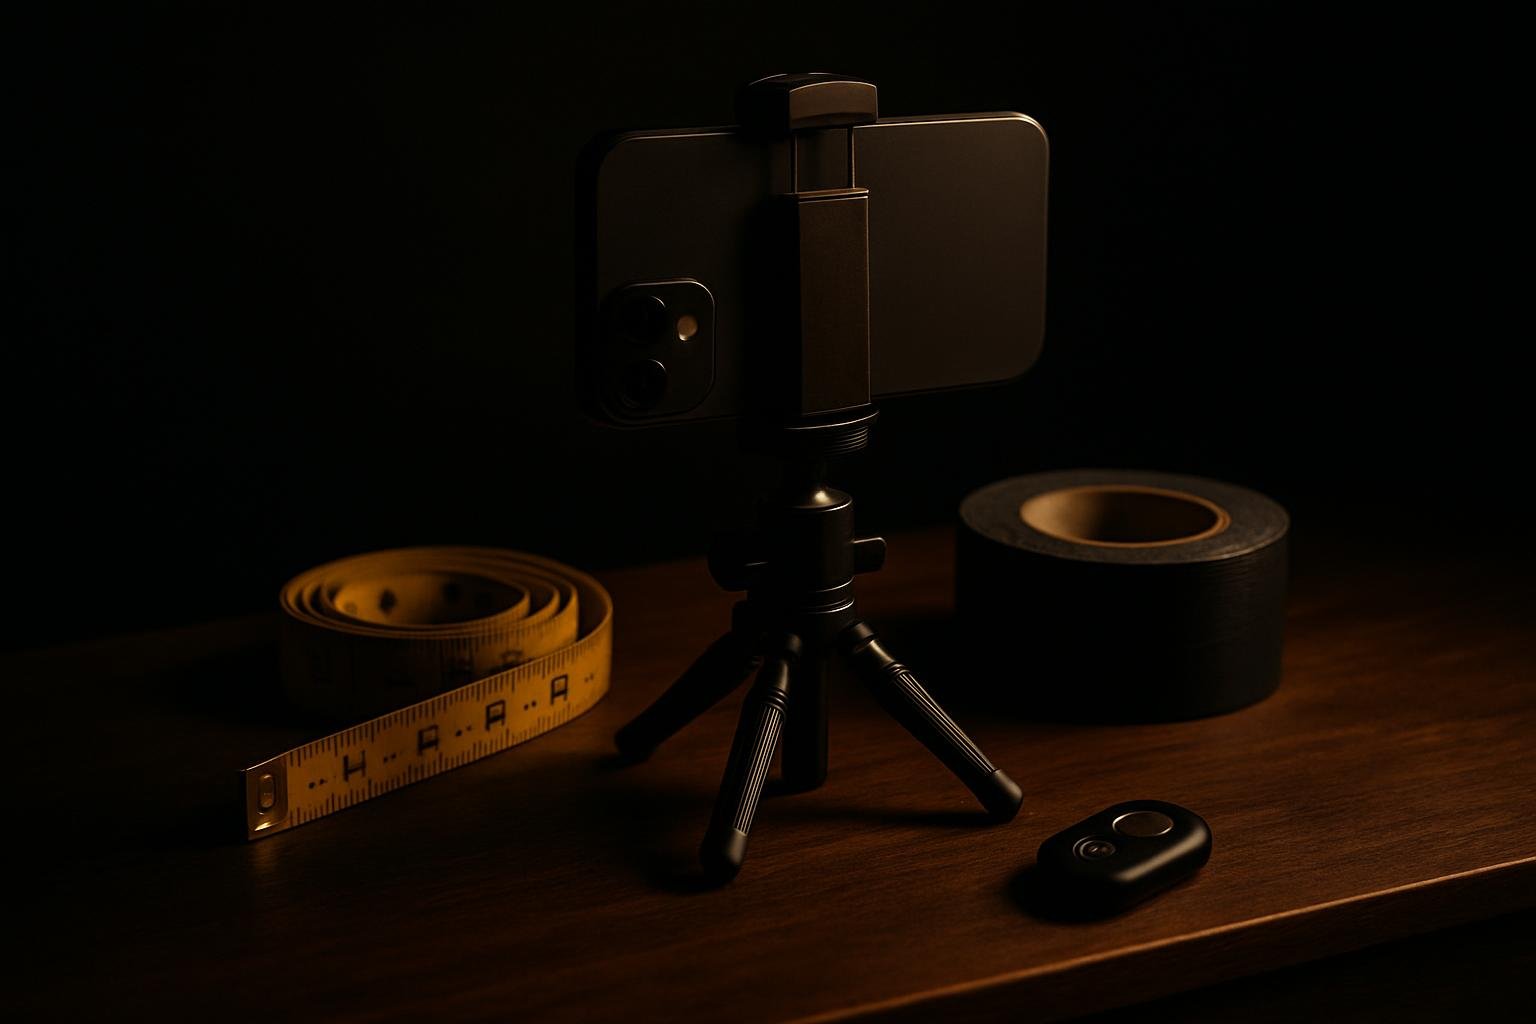
You don’t need a studio. You do need the right lens and a stable mount.
- Phone settings: Use the 2x or 3x camera. Step back until your whole body fits with a little space. Avoid 0.5x ultra‑wide at all costs.
- Camera lenses: Full‑frame: 50–85mm. APS‑C: 35–56mm. Micro Four Thirds: 25–45mm. These keep your head, torso, and legs in honest proportion.
- Tripod: Any stable tripod with a phone clamp. Set height so the lens sits near your navel. If no tripod, stack sturdy boxes/books and tape the phone down.
- Remote & timer: Use a Bluetooth remote or the 3–10 sec timer. Take bursts of 3. Walk into position between shots to reset posture.
- Leveling: Keep the camera level. No tilting up or down. A small tilt changes leg/torso proportions in a bad way.
- Background: Clean, simple, and shallow depth. Outdoors, pick open shade with 15–30 ft behind you. Indoors, stand 6–10 ft in front of a neutral wall.
Framing, distance, and camera height: the non‑negotiables
Proportion comes from geometry, not filters. Lock these in before you think about poses.
- Stand back far enough: If you’re on a phone at 2x, plan for 20–30 ft between lens and you. On 1x, you’ll need 35–50 ft to avoid wide‑angle distortion. If space is tight, do not switch to 0.5x—find a longer hallway or step outside.
- Mount at navel height: Around belly‑button level keeps legs and torso similar scale. Too high makes you look short; too low over‑emphasizes shoes and thigh.
- Keep it vertical: Dating apps favor vertical crops. Center your body. Leave 5–10% headroom and 3–5% space below your shoes.
- Head‑to‑toe integrity: Don’t crop at ankles or shins. If you must crop, do it mid‑thigh or above the knee—never at joints and never cut off toes.
- Lines and edges: Keep vertical lines (door frames, lamp posts) vertical. If the ground slopes, level the camera, not your stance.
If you want a blunt, outside eye on your framing, Suvant’s image audit scores your photos and explains exactly why a shot reads short, wide, or cluttered—then gives a next move to fix it.
Poses that lengthen you without trying too hard
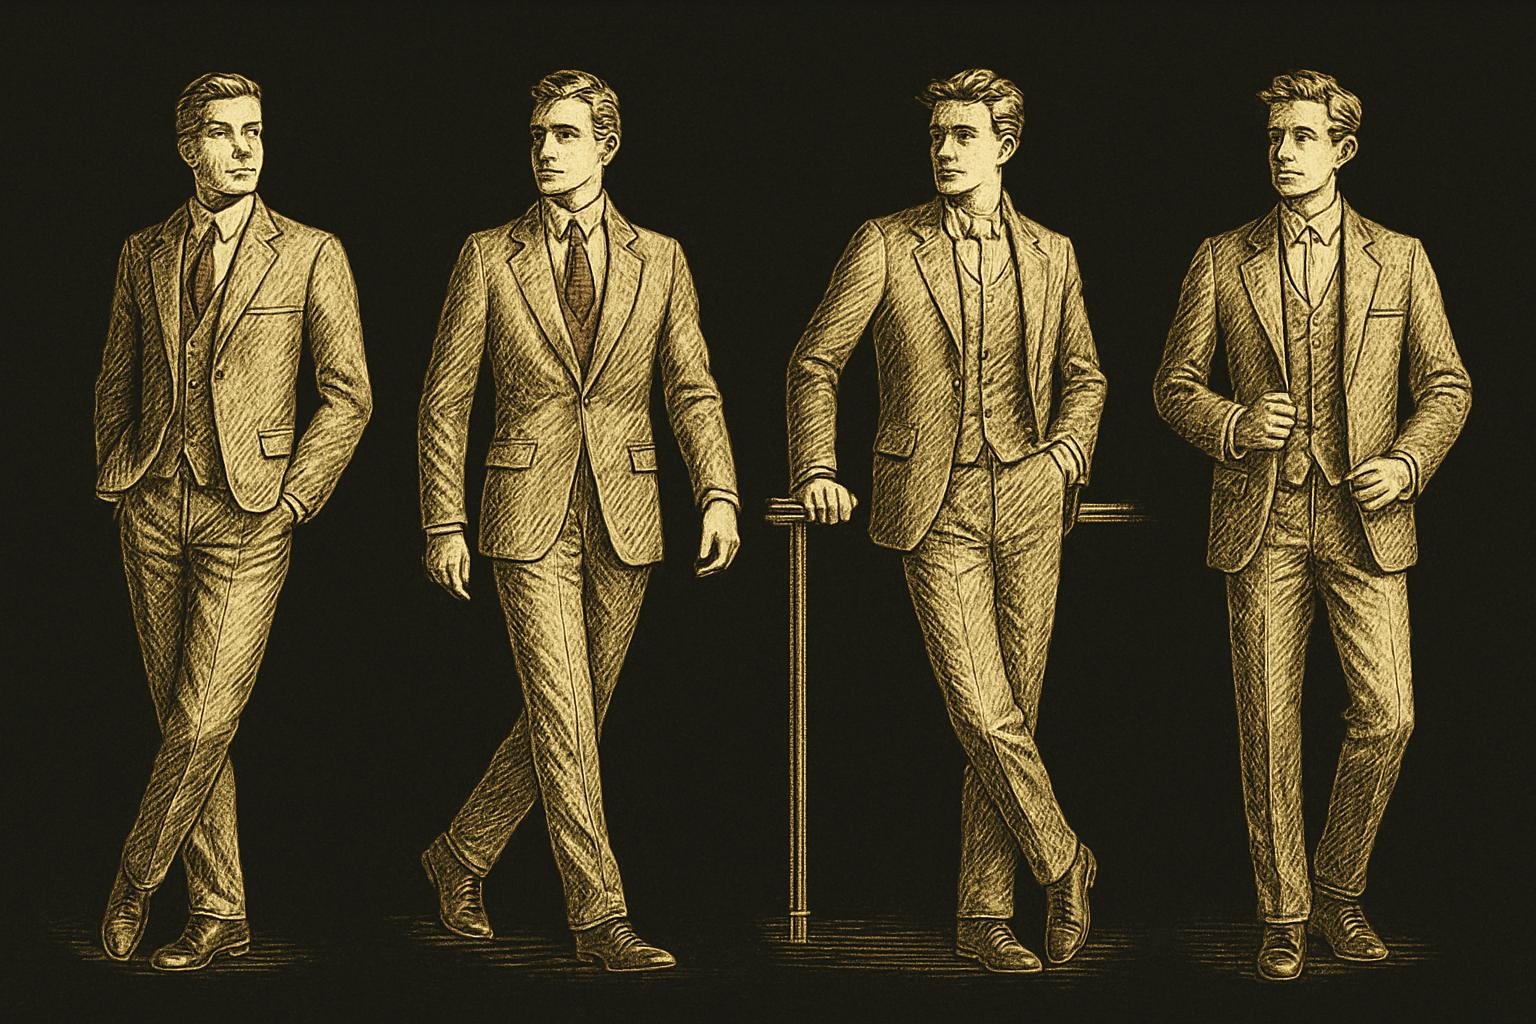
Full‑body shots live or die on stance and hands. Here are reliable poses that read natural.
- The relaxed angle: Feet hip‑width. Turn your body 15–30° from camera. Weight on the back foot, front foot slightly forward. Front hand: thumb in pocket; back hand: free or lightly holding sunglasses/keys.
- Jacket assist: If you wear a jacket/overshirt, keep it open. One hand casually holding the edge at waist level cleans the lines and gives the other hand a job.
- Step‑in shot: Take a small step toward camera mid‑burst. Heel down, toe forward, natural arm swing. It adds energy and lengthens the line of the leg.
- Lean with intent (outdoors): Light touch against a railing or wall at hip height. Keep your spine tall, one foot slightly back. No slouching into the wall.
Micro‑adjustments that matter:
- Neck and chin: Stand tall through the crown. Bring your face 1–2 cm toward the lens and tip the chin down 1 cm to define the jaw without straining.
- Shoulders and hips: Relax shoulders down. A gentle hip shift (1–2 cm) toward your back foot adds shape without a "posey" vibe.
- Hands: Options that work: thumb in pocket; full hand in pocket with thumb out; pinch a jacket edge; hold sunglasses by the bridge. Avoid fists and dangling "dead arms."
Take 3–5 frames per pose variation, then reset your posture and breathe out. For deeper practice, skim our stance tips in how to pose for photos.
What to wear so your proportions read clean
Clothes either streamline you or add bulk. Pick pieces that create long, simple lines.
- Fit: Aim for "fitted, not tight." Shoulder seams at the edge of your shoulders. Shirts that skim the torso. Pants with a straight or slim‑straight leg. Hem that kisses the top of the shoe (no puddles).
- Layers that help: An unstructured blazer, overshirt, field jacket, or lightweight chore jacket worn open. It frames your torso and lengthens the body line.
- Colors and patterns: Solid or subtle textures. If in doubt: navy, charcoal, olive, camel, white, black. Avoid high‑contrast horizontal stripes and big logos.
- Tops that work: Crew or polo in solid colors, Oxford button‑down, merino sweater. If you wear a tee, make sure the collar lies flat and the fabric isn’t clingy.
- Pants that work: Dark or medium‑wash jeans, chinos, wool trousers. Avoid super‑skinny and overly wide cuts for this shot.
- Shoes: Clean leather sneakers, desert boots, loafers, Chelsea boots. Wipe them down; laces neat. Shoes show more in full‑body frames.
- Belts & accessories: If you tuck, belt should roughly match shoe color. Minimal watch/bracelet is fine. Empty your front pockets.
- Grooming touch‑ups: De‑lint, steam/iron, tame flyaways with a dab of matte product, and carry a microfiber cloth for quick shoe and phone lens wipes.
If you’re over 40 and updating your whole set, see our age‑smart photo choices in dating profile photos for men over 40.
Simple at‑home setups that don’t look like a studio
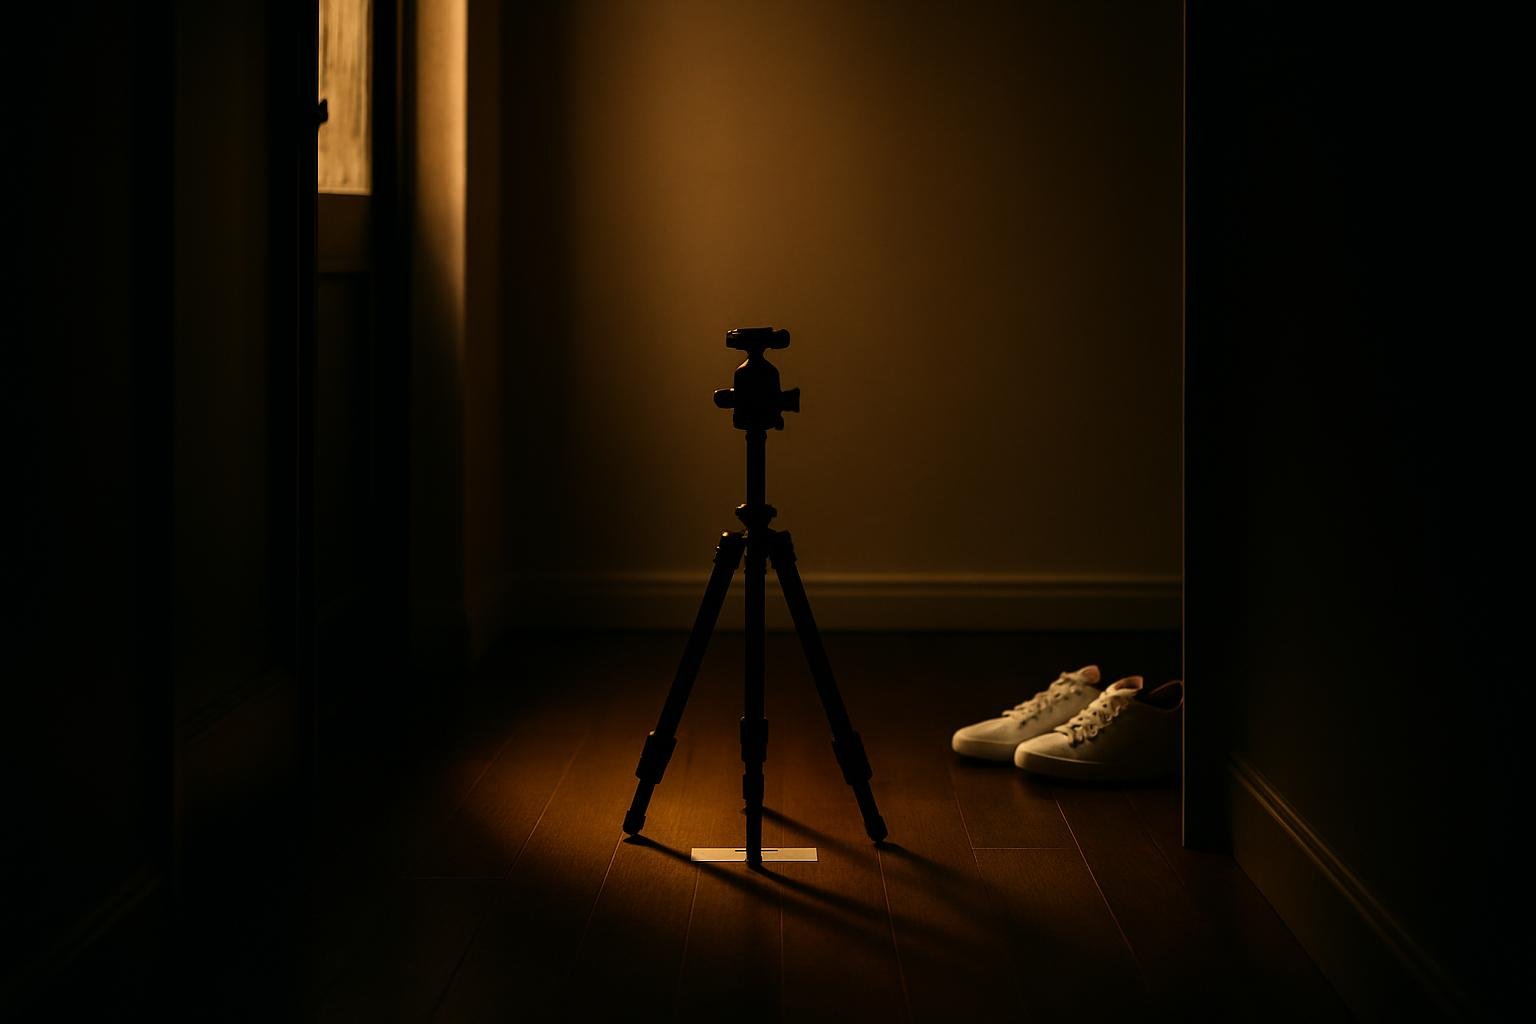
You can get a crisp full‑length shot without leaving home. Use space and light wisely.
Indoors: window and hallway
- Window setup: Find a large window with indirect light (north‑facing or any window not in direct sun). Place the camera 20–30 ft back if possible, lens at navel height. Stand 6–10 ft from the window so the light wraps softly. Keep the background simple.
- Hallway setup: Put the camera at one end of a long hallway at 2x. You stand near the other end. Hallway lines help with verticals—just keep the camera level.
Outdoors: open shade
- Find shade: North side of a building, under an overhang, or in tree shade with even light. Avoid dappled light spots on your face or clothes.
- Distance: Step 20–30 ft away from the camera in open shade. Keep 15–30 ft of background behind you for separation.
- Time of day: 1–2 hours after sunrise or before sunset, or any overcast time. Midday is fine if you’re fully in shade.
Practical tips
- Mark your spot: Tape a small X on the ground where your front foot lands. Faster, more consistent frames.
- Declutter: Remove laundry baskets, cords, trash bins, fridge magnets—anything the eye will trip over.
- Lens clean: Wipe your phone lens before every set. It matters more than you think.
- Shoot in bursts: Timer at 3 sec, burst of 3–5. Change pose element each burst: feet angle, hand placement, chin, micro‑expression.
Want the full checklist for the other photos you need? Pair this with our counts and roles in how many dating profile photos you need and the living‑room playbook in take dating photos at home.
Mistakes that make you look shorter or wider (and quick fixes)
- Using a wide lens up close: 0.5x or 1x at close range balloons your head and shrinks legs. Fix: Switch to 2x/3x and back up to 20–30 ft.
- Camera too high: Shot from eye/forehead level shortens legs. Fix: Drop lens to navel height.
- Camera too low and tilted up: Overemphasizes thighs and shoes. Fix: Keep camera level; only slightly lower than waist if you need a tiny boost.
- Cutting off feet: It subconsciously reads as sloppy and shorter. Fix: Leave space around shoes; check framing before each burst.
- Leaning back from the camera: Makes your torso and neck recede. Fix: Stand tall and bring your face 1–2 cm toward lens.
- Dead arms and fists: Adds blocky width. Fix: Assign hands: pocket/thumb/prop; relax fingers.
- Baggy layers and long tees: They add volume and hide shape. Fix: Fitted layers; tuck or choose proper length that lands mid‑fly to just below belt.
- Busy backgrounds: Visual noise steals height. Fix: Choose a clean wall, garage door, or shaded building side; remove clutter.
- Harsh overhead light: Eye bags and deep shadows. Fix: Open shade or window light at face level.
- Over‑editing and heavy filters: Skin blur and crunchy contrast look off. Fix: Minor exposure/white balance tweaks only. Keep it real.
A 30‑minute shoot flow, selection, and next steps
Block 30–45 minutes. You’ll get one excellent full‑body shot plus a few strong alternates.
- Prep (5 min): Wipe lens, steam clothes, de‑lint, clear background, set camera at navel height, 2x lens, timer/remote ready. Tape an X for your front foot.
- Look 1 (10 min): 6–8 bursts of 3–5 frames. Vary stance angle (15°, 20°, 30°), hand options, and a step‑in sequence. Check framing mid‑set.
- Look 2 (10 min): Swap top layer or shoes. Repeat bursts. Get one leaning pose if it fits the scene.
- Optional Look 3 (5 min): Casual variant (tee + jeans) or smart variant (blazer + chinos). Only if energy is still good.
- Review (10 min): On a larger screen if possible. Eliminate blinks and cut‑off toes first. Then pick the frames where your posture is tall, hands have purpose, and the expression feels like real you.
Crop and export: Keep vertical crops. Leave shoe space and a touch of headroom. Minor tweaks: exposure (+0.2 to +0.5), contrast (+5–10), white balance to neutral, straighten verticals. Export at high resolution—apps will compress for you.
If you want unvarnished feedback on the full set (face, hair, style, and the photos themselves), run a free image audit at Suvant. Upload three photos, get scored across eight categories with the reasons behind each number, then turn it into a ranked plan. The full plan lives at app.getsuvant.com and comes with a money‑back guarantee.
Get the honest audit you've never gotten.
Three photos, eight scores, the real reasons behind each number, then a ranked plan to fix them one move at a time.
Get my free audit →